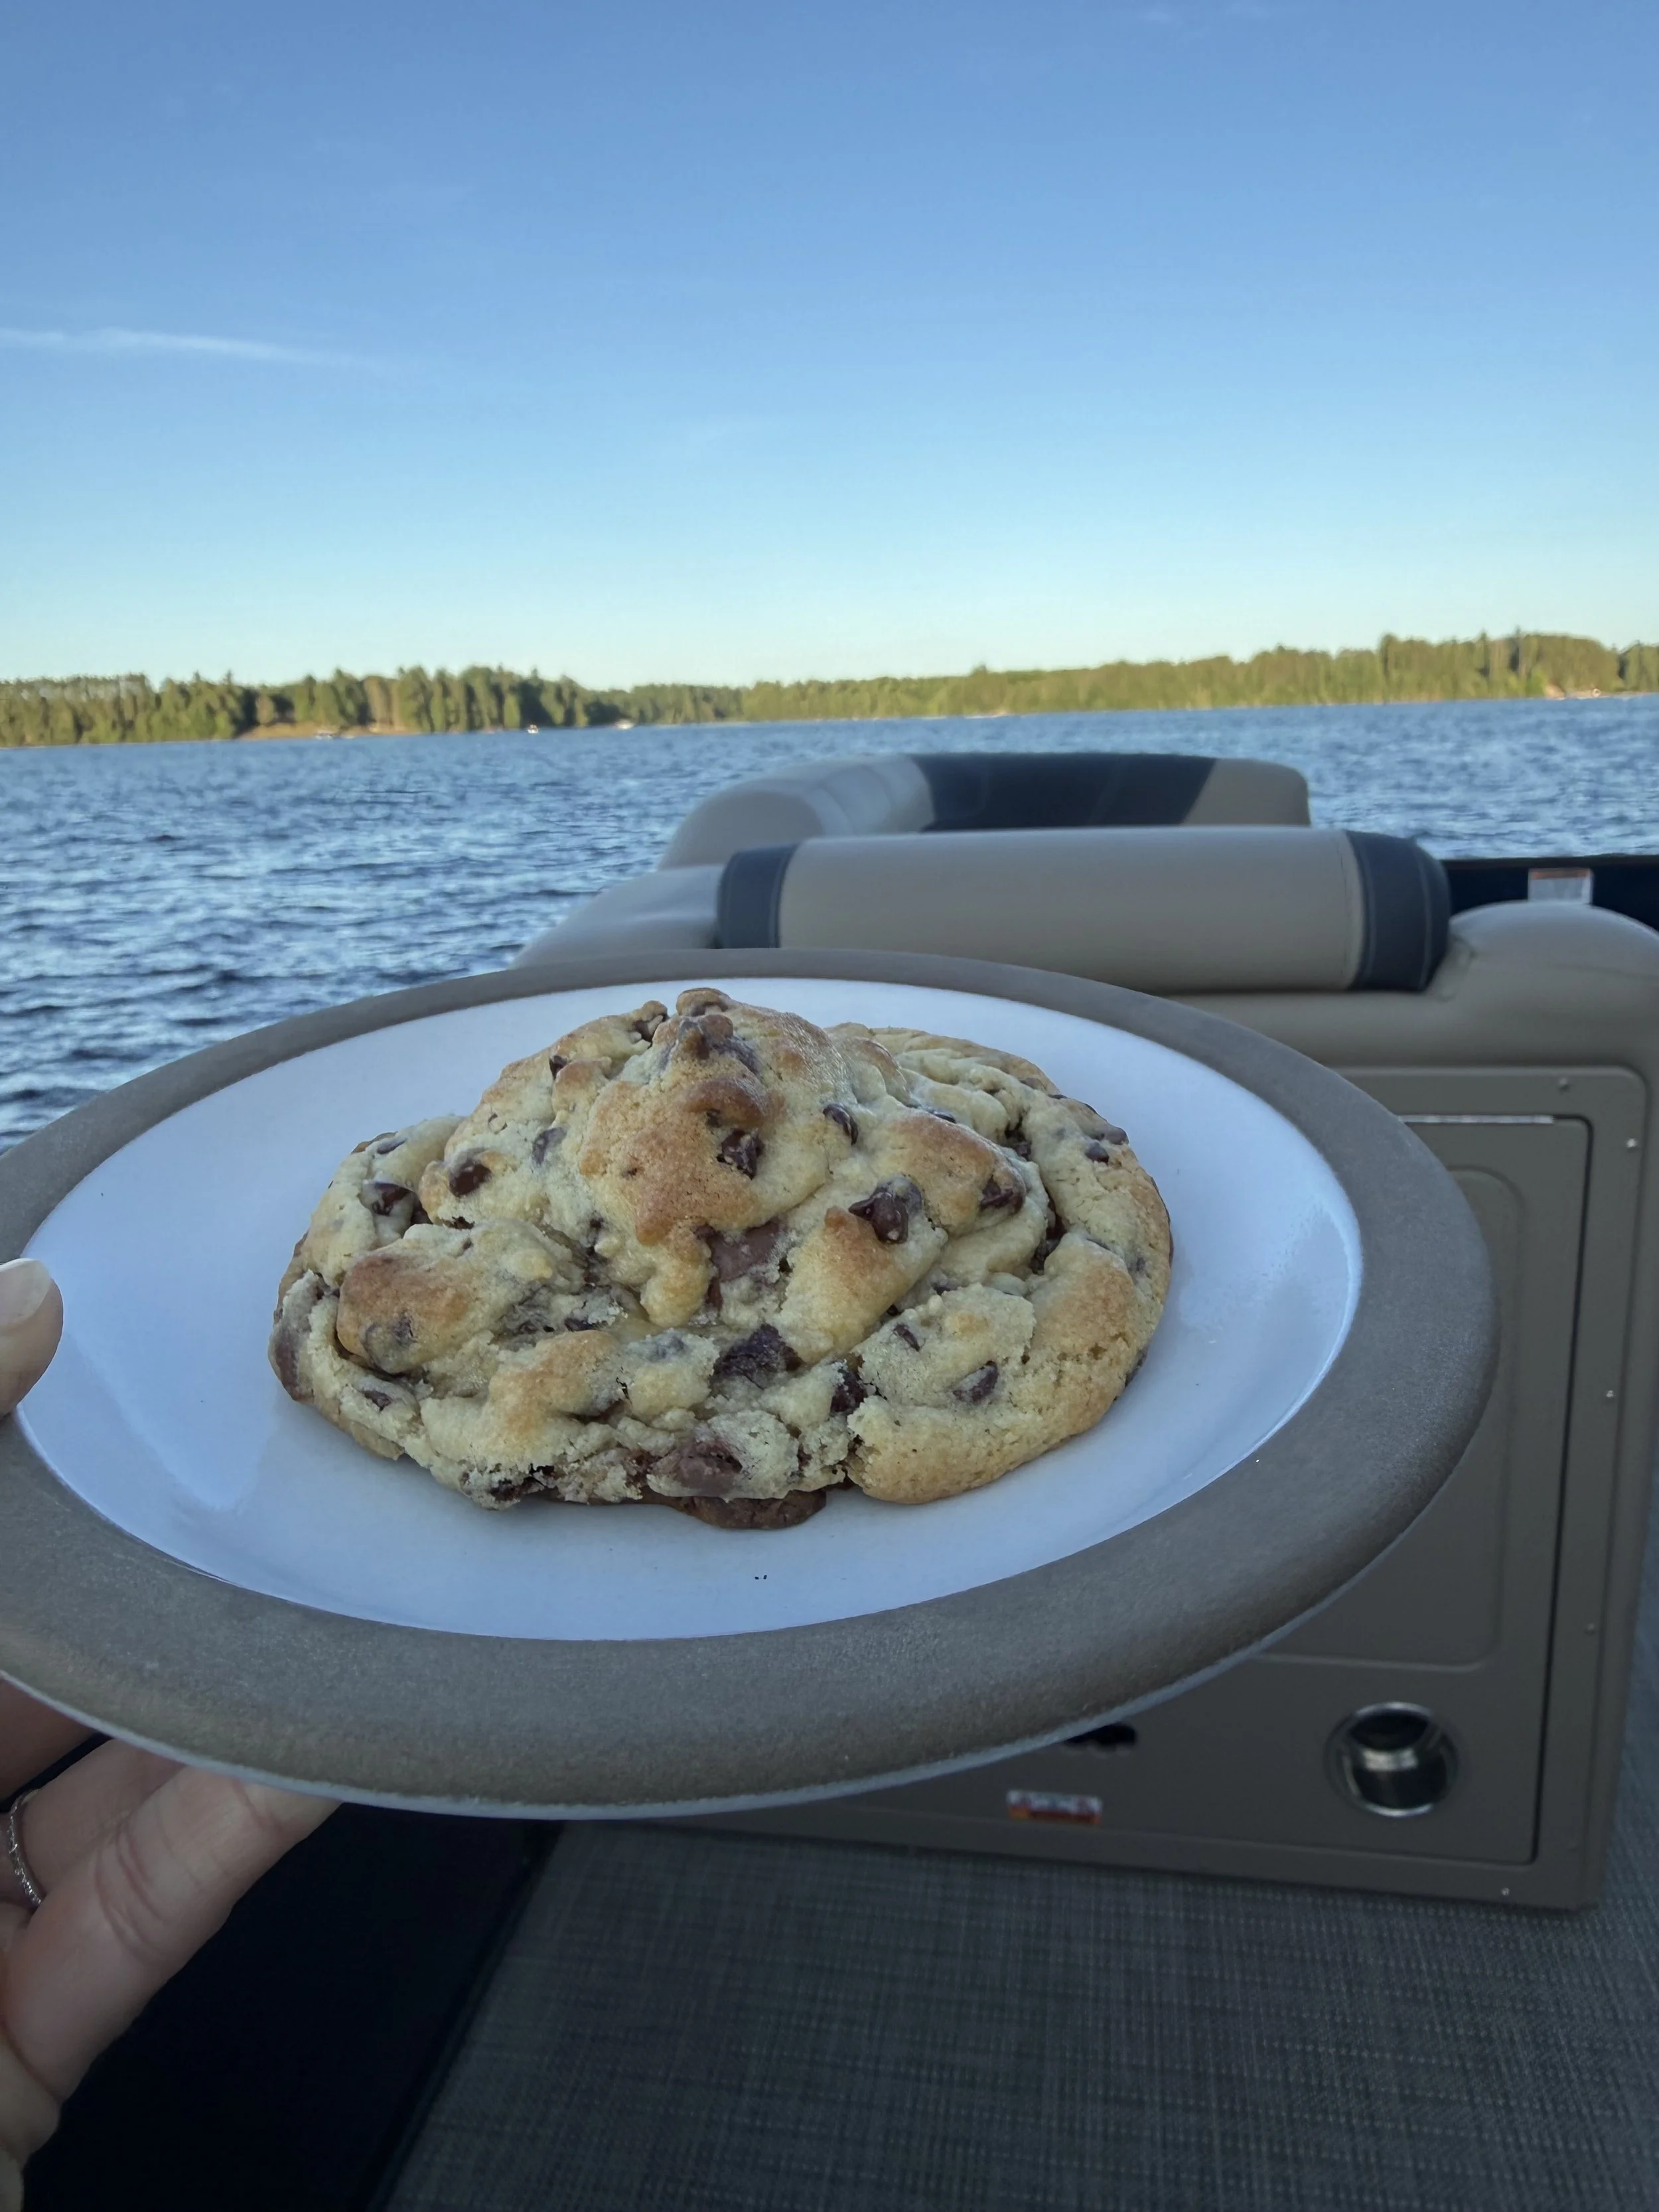
The Chocolate Chip Cookie Recipe That Sold Out My Pop-Up Bakery Every Saturday This Summer
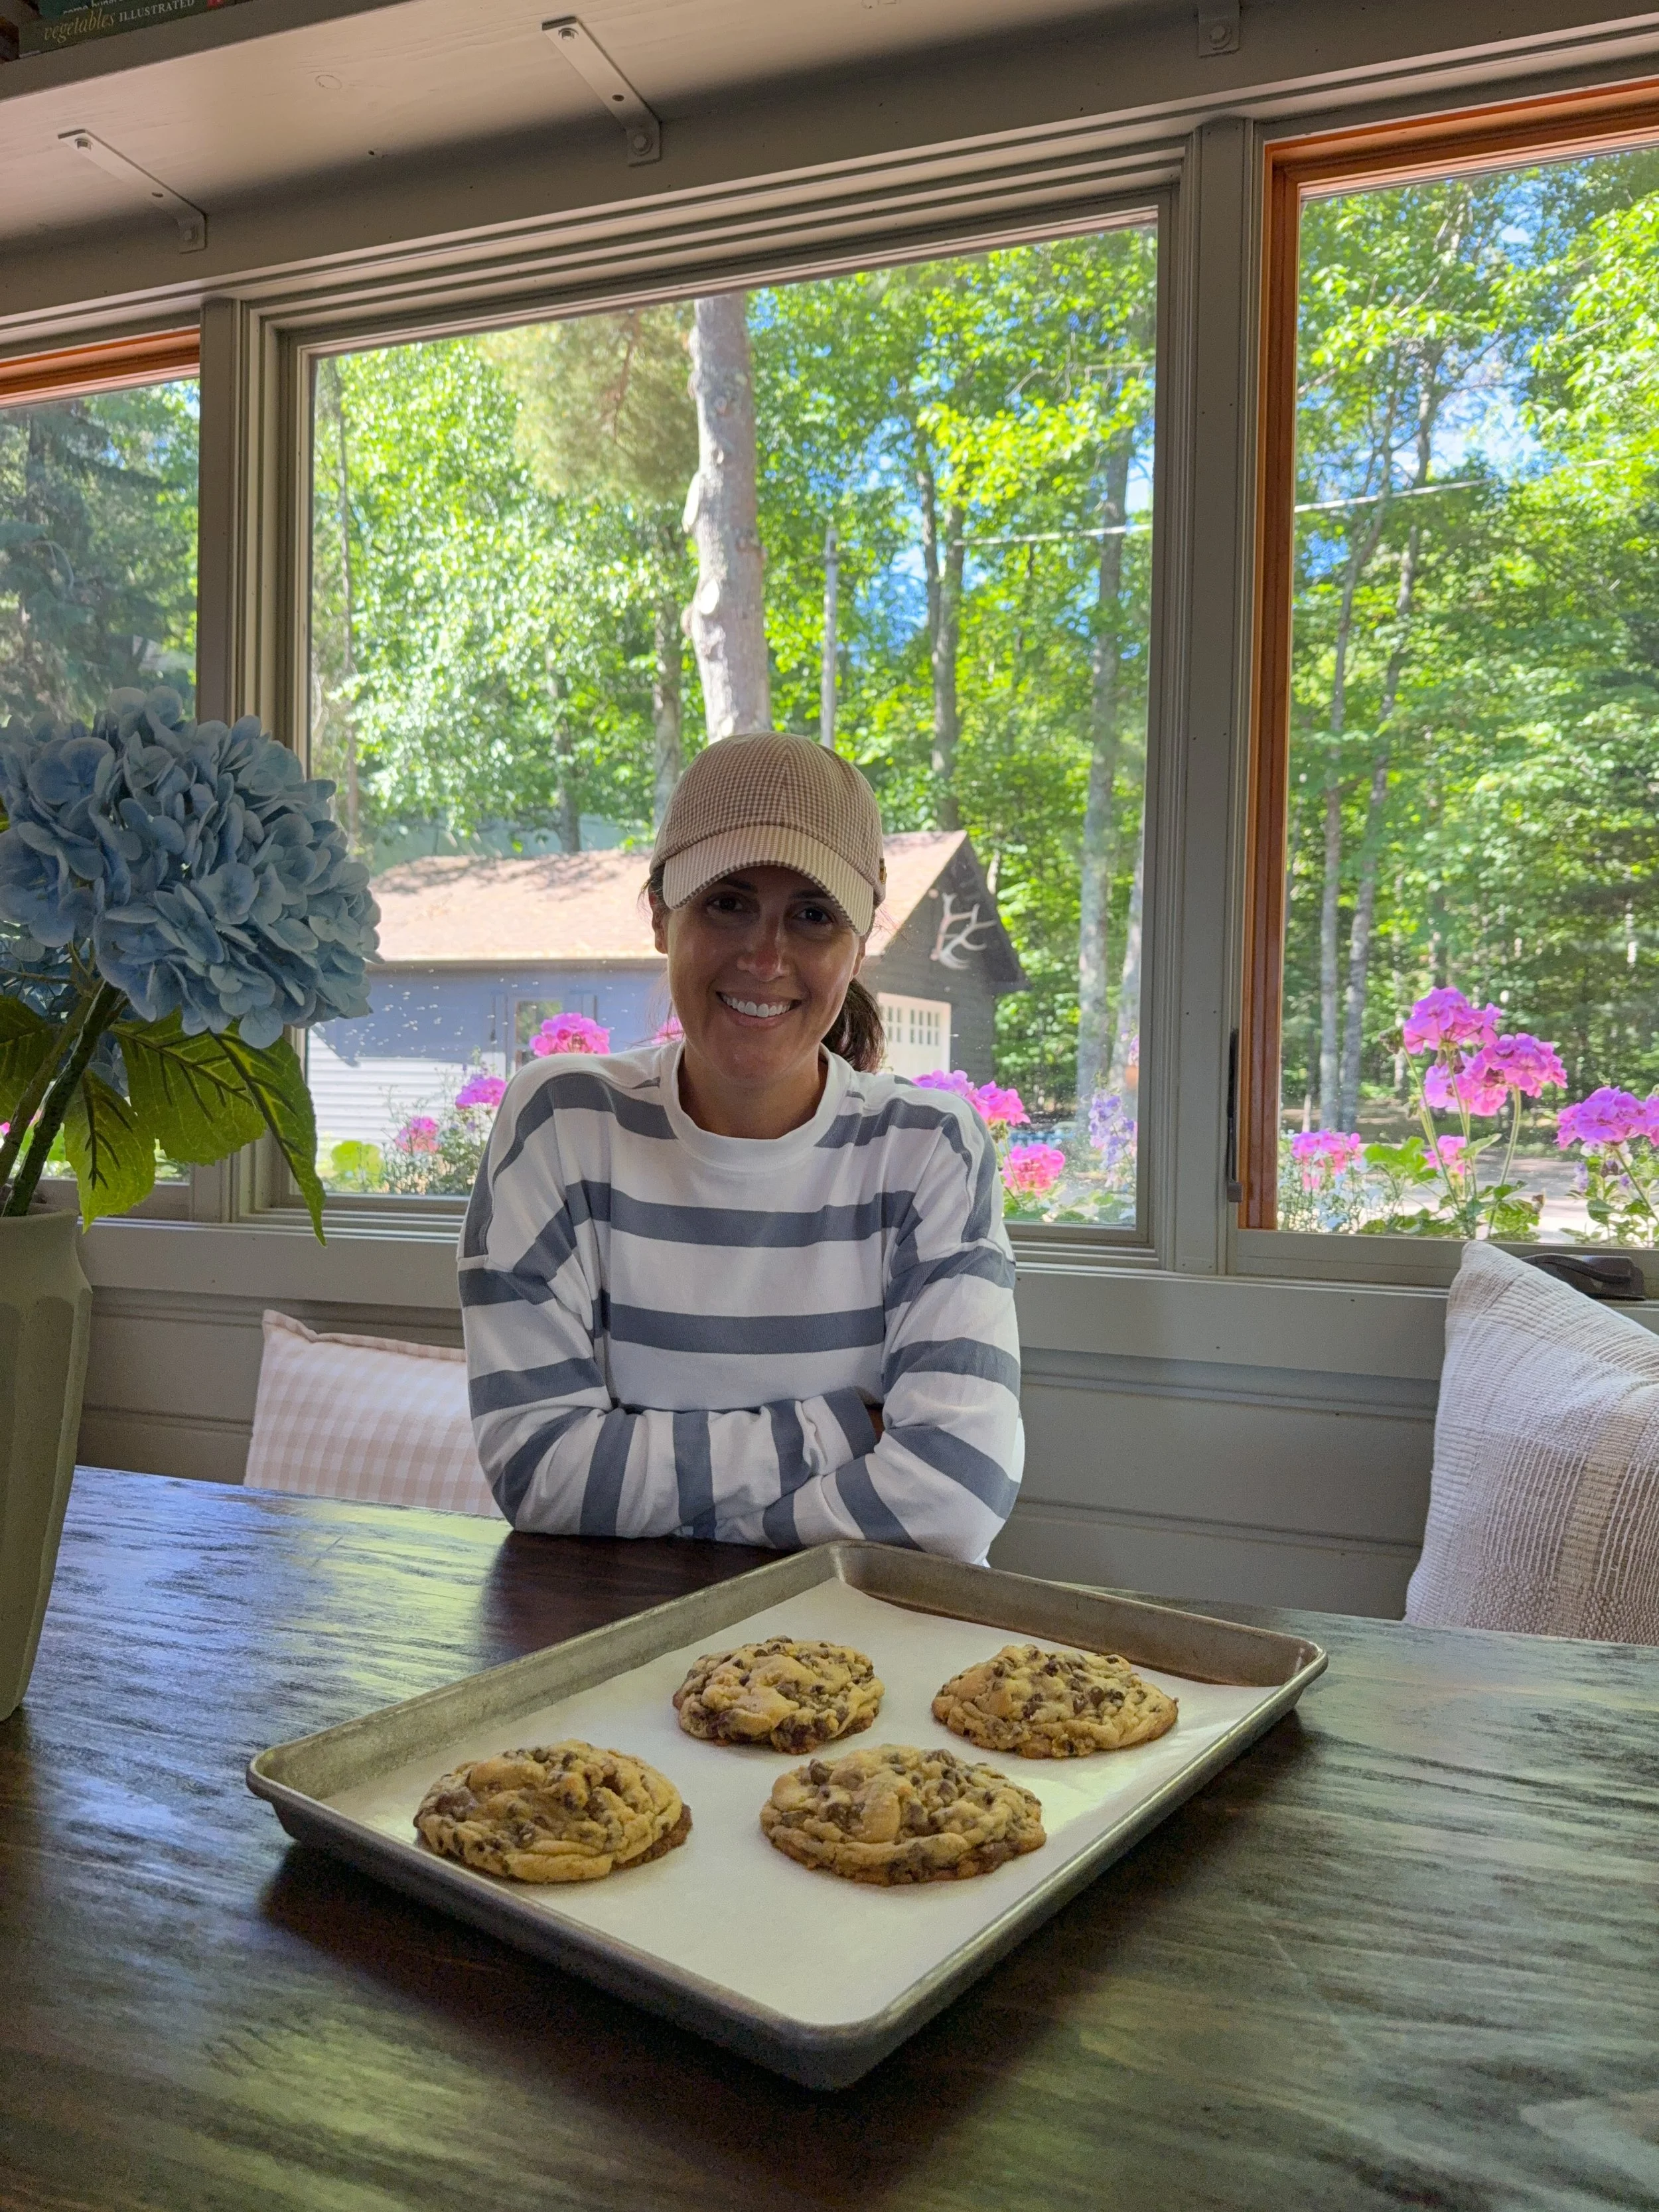
In June, I had a silly idea to open a pop-up bakery out of my cabin in northern WI (a popular tourist area during the summer). I did this for no reason other than to have fun because my life was consumed with work, between my marketing consulting and our painting & design business. I picked one thing to bake: giant chocolate chip cookies (Levain style). Every pre-order has sold out, and every Saturday morning, I’ve met the sweetest people picking up their cookies. Strangers who have followed me on Instagram for years were so excited to see our cabin (that I’ve been documenting for 7 years during our renovation journey). I made almost no money selling cookies, but that wasn’t the point. Connecting with people in real life has been so fulfilling. I also ate a lot of cookie dough, which is never a bad thing. This is a reminder to start that random project, even if you have no end game in mind.
Now that it’s over for the season, I’m giving away the recipe! It is inspired by numerous Levain-style recipes, but the one I loved the most was from Grace Fahey. I modified her recipe a bit, but she deserves a lot of credit for fine-tuning the famous bakery’s recipe.
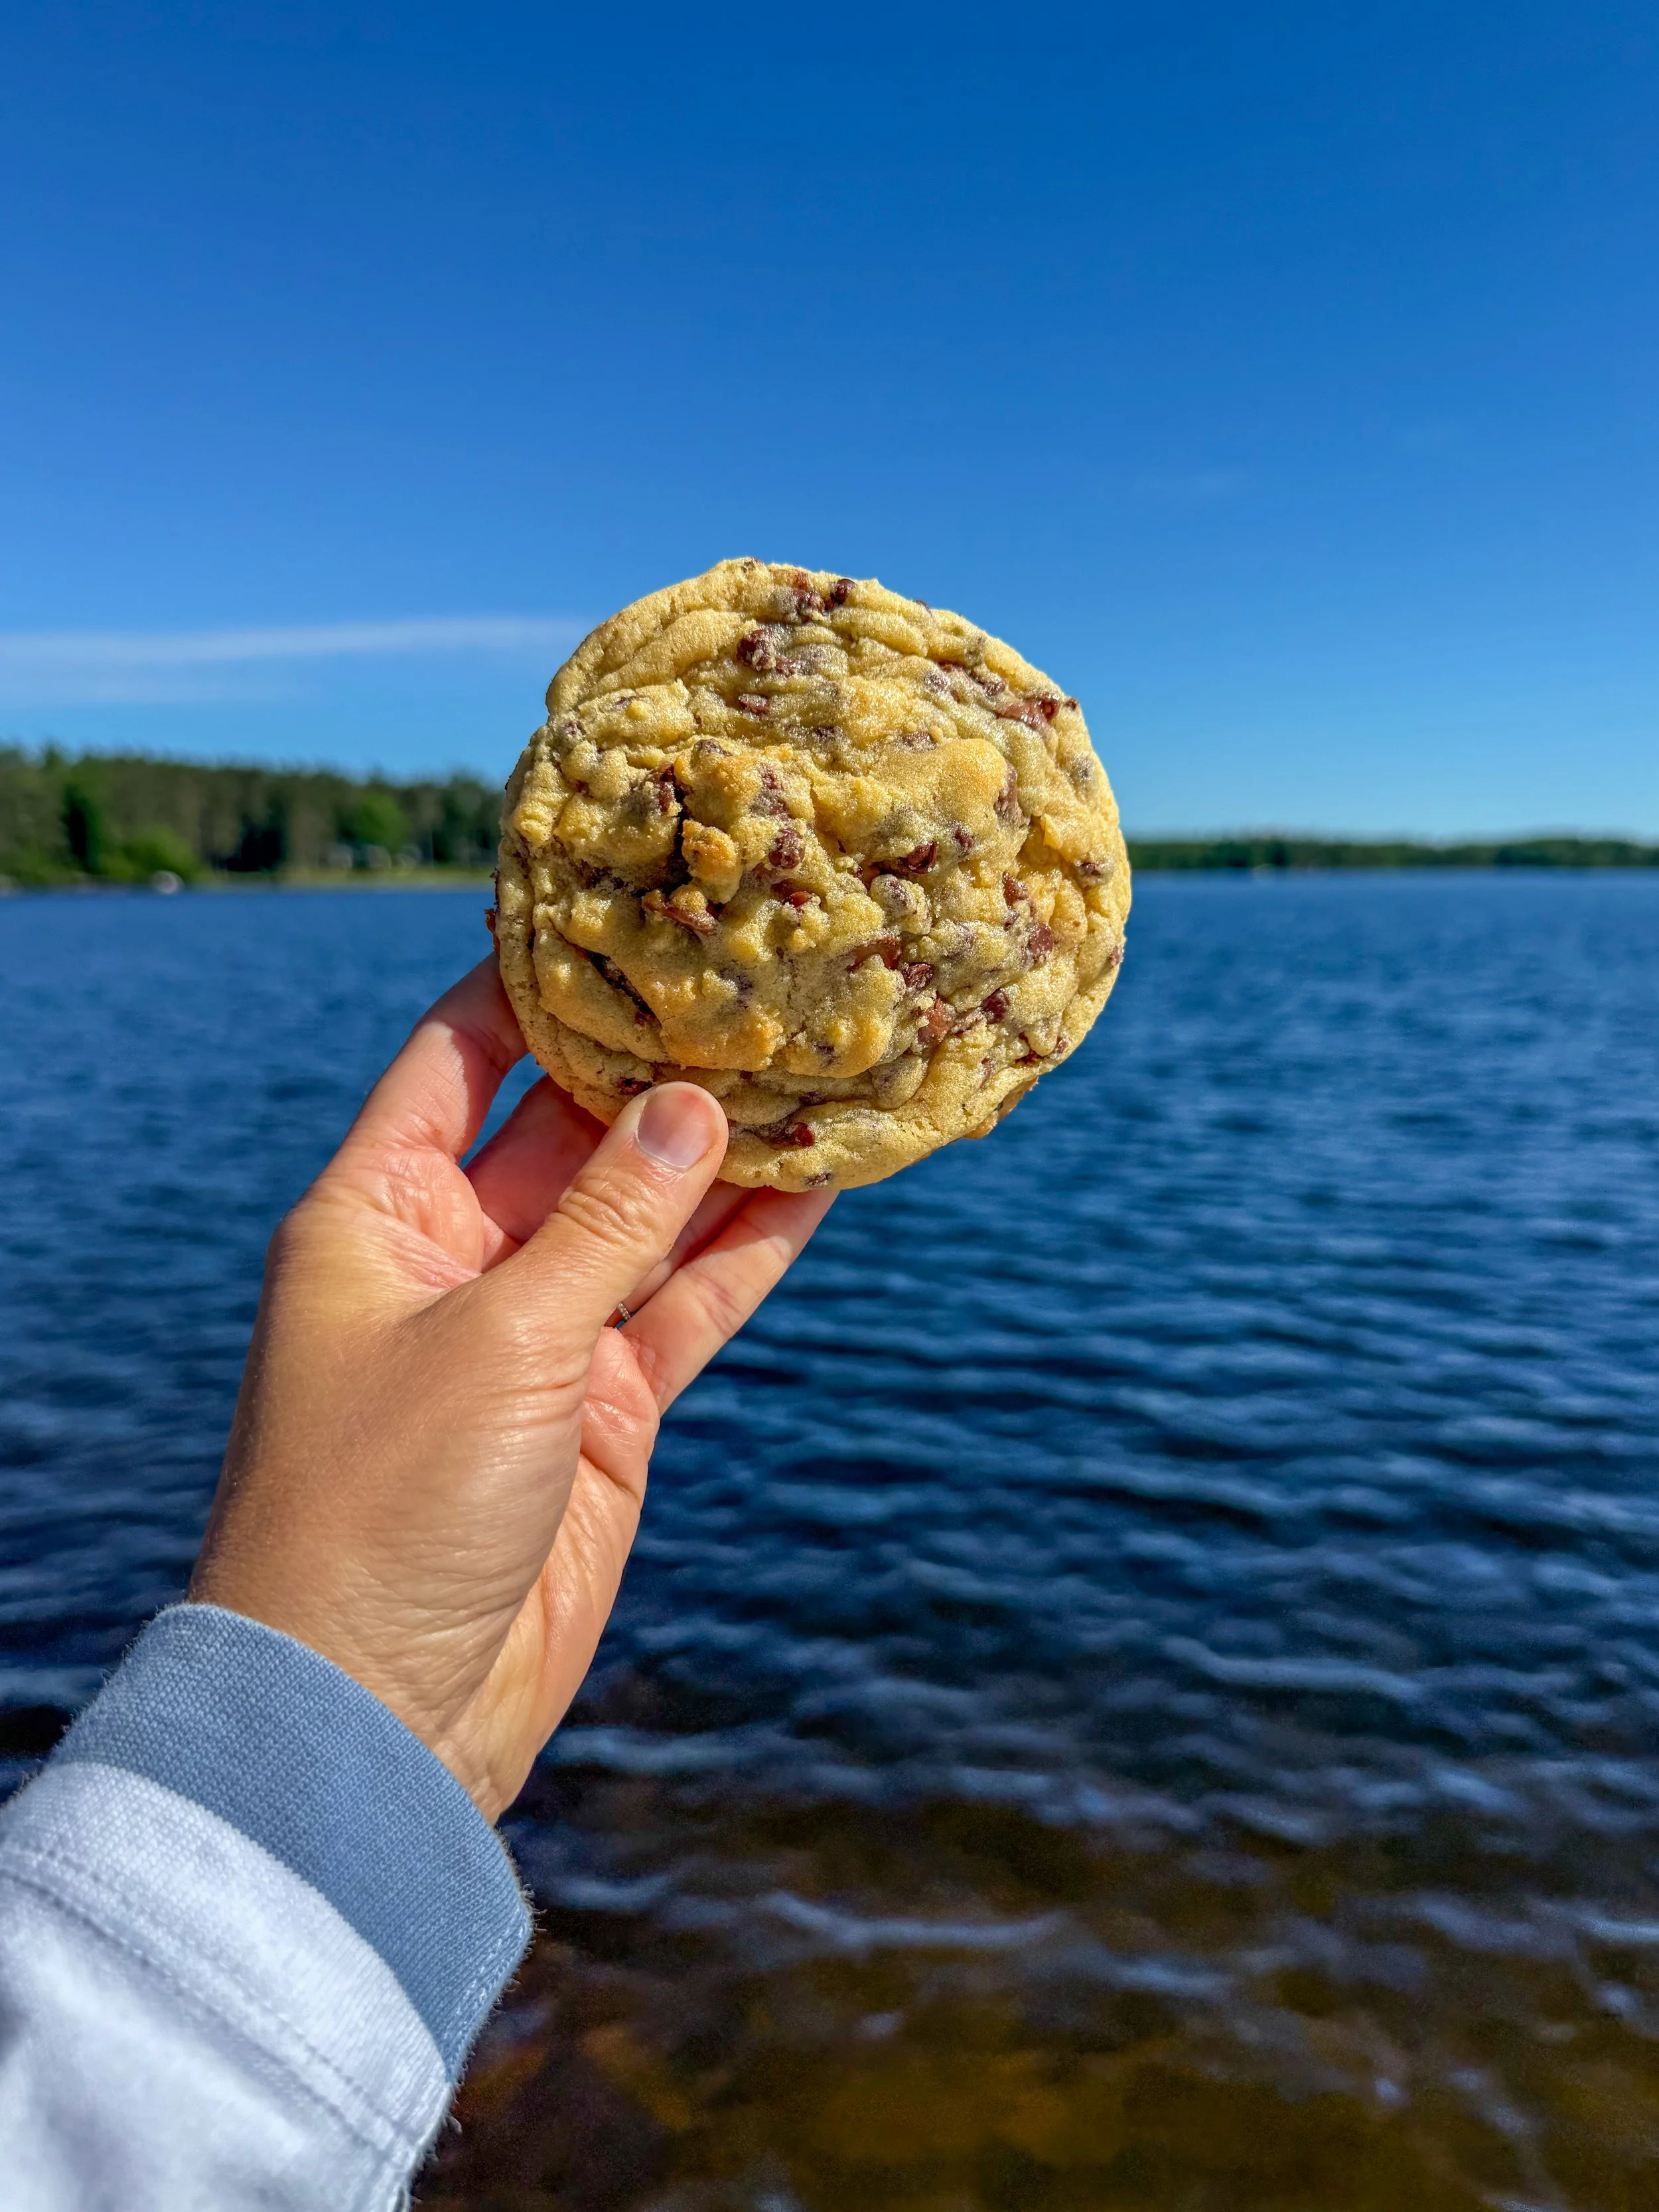
This is a big cookie. Six ounces, the kind you get at a trendy bakery, made with two kinds of chocolate chips (milk and semi-sweet), thick, tall, and doughy in the middle. If you like your cookies thin and crispy, this one isn’t for you. I used to run a little business years ago teaching people how to bake, and this recipe leans on the same two things I always told my students to buy: a kitchen scale and an oven thermometer. Both cheap, both non-negotiable for baking in my opinion.
A few things before you start:
This is a freeze-first cookie. You make the dough, portion it, and freeze it before it ever sees the oven. I use this quarter sheet pan to hold the dough in the freezer for the first day before I transfer it to a Ziploc freezer bag. Freeze the dough for least 6 hours before you bake, though dough balls hold in the freezer for weeks or months. That’s been my secret weapon for years: a bag of frozen dough balls means a warm cookie is always about 20 minutes away, whenever people are over or I just want one.
Weigh everything. I know not everyone bakes with a scale, but I can’t really troubleshoot for you if you’re using measuring cups. Everyone scoops flour a little differently. (Get a cheap digital scale. It’ll pay for itself the first time you bake. It’s also way easier!)
This recipe is tested with King Arthur all-purpose flour. That’s the only flour I can vouch for here.
Get an oven thermometer.This one is $8. Before you bake your cookies, set your oven to 350, put it in, and see what your oven is actually doing. Running hot or cool changes everything about baking, particularly how these cookies bake. If you find that your oven isn’t calibrated correctly, you can always just bump the temp up or down depending on what you find.
Pans matter here. Dark pans will burn the bottoms. I use these sheet pans. Inexpensive, dishwasher-safe, and what’s under every cookie I sold this summer.
The technique (read this part first)
This dough does not get creamed. No bringing butter to room temperature, no whipping it fluffy with sugar. You’re using cold, cubed butter straight from the fridge. I use my KitchenAid mixer (here’s their classic version that’s not as large as mine), but I’ve never tested this recipe without a mixer. I mix the cold butter with the sugar on low just until the butter’s incorporated and no longer in visible chunks. Add the eggs and vanilla and mix for no more than 30 seconds. Then add your dry ingredients and mix only until combined. Fold in the chocolate chips. Can you sense a theme here? Over-mixing is the one real way to ruin this dough, so when in doubt, stop early.
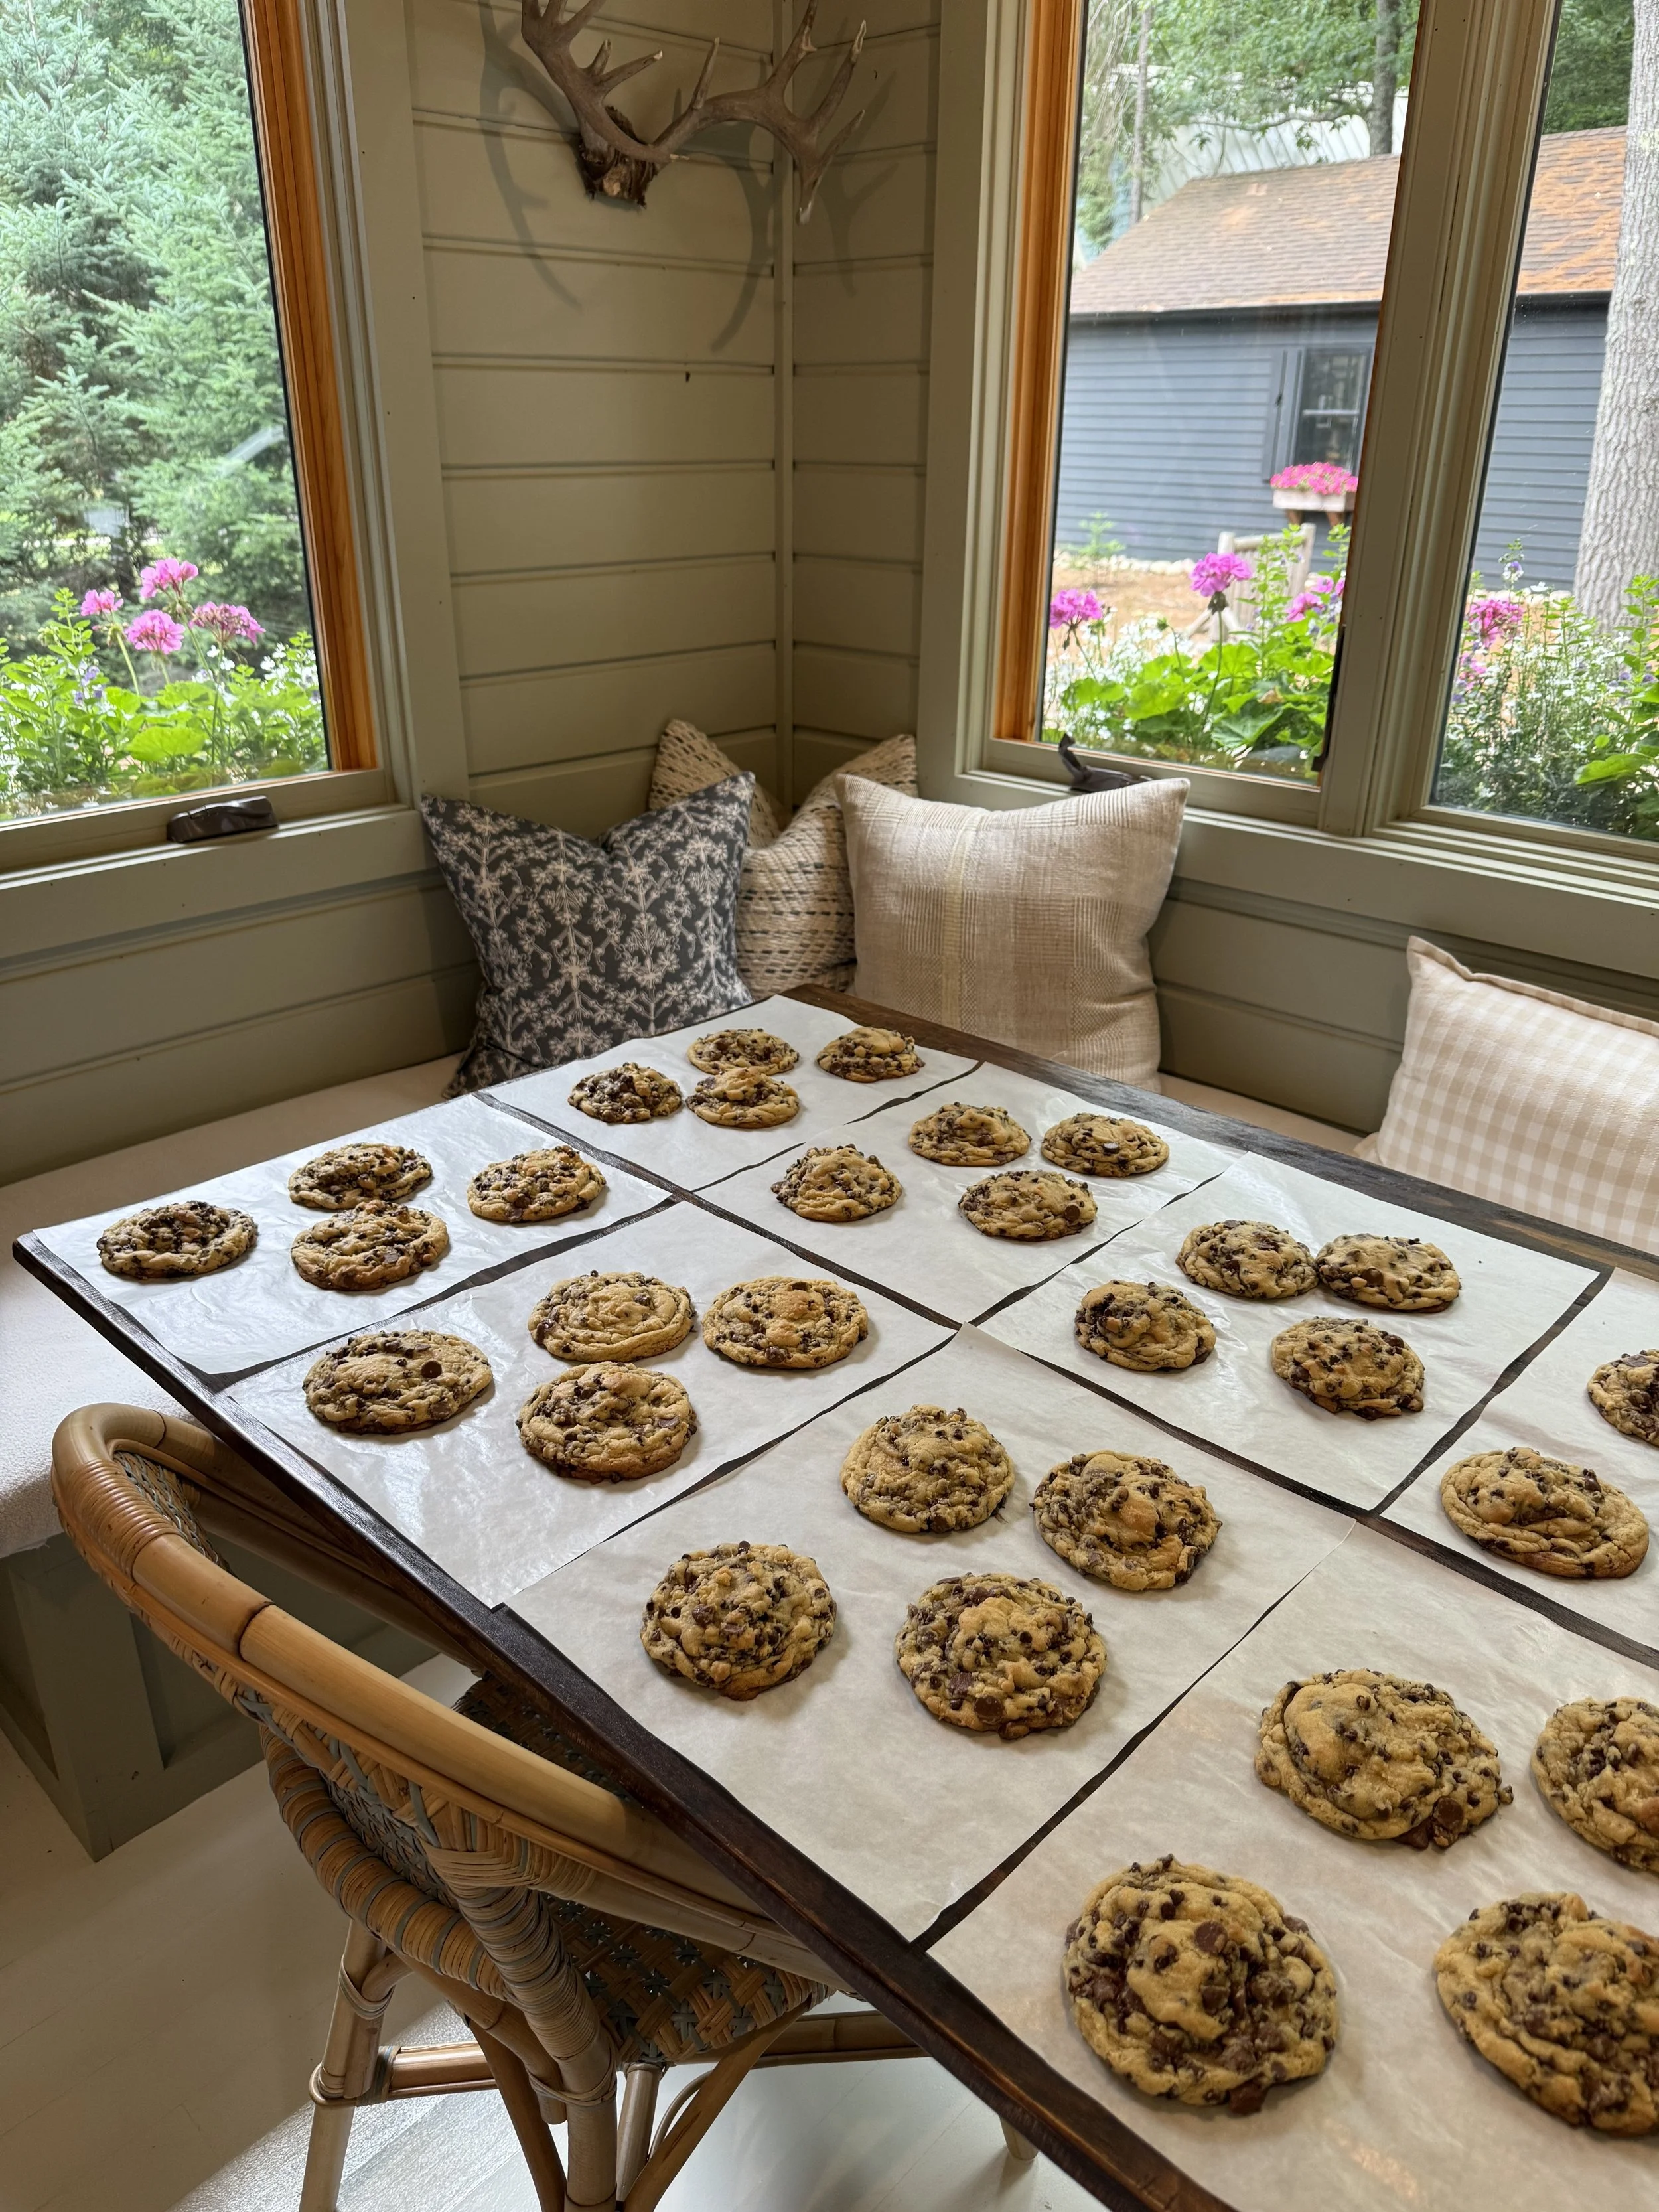
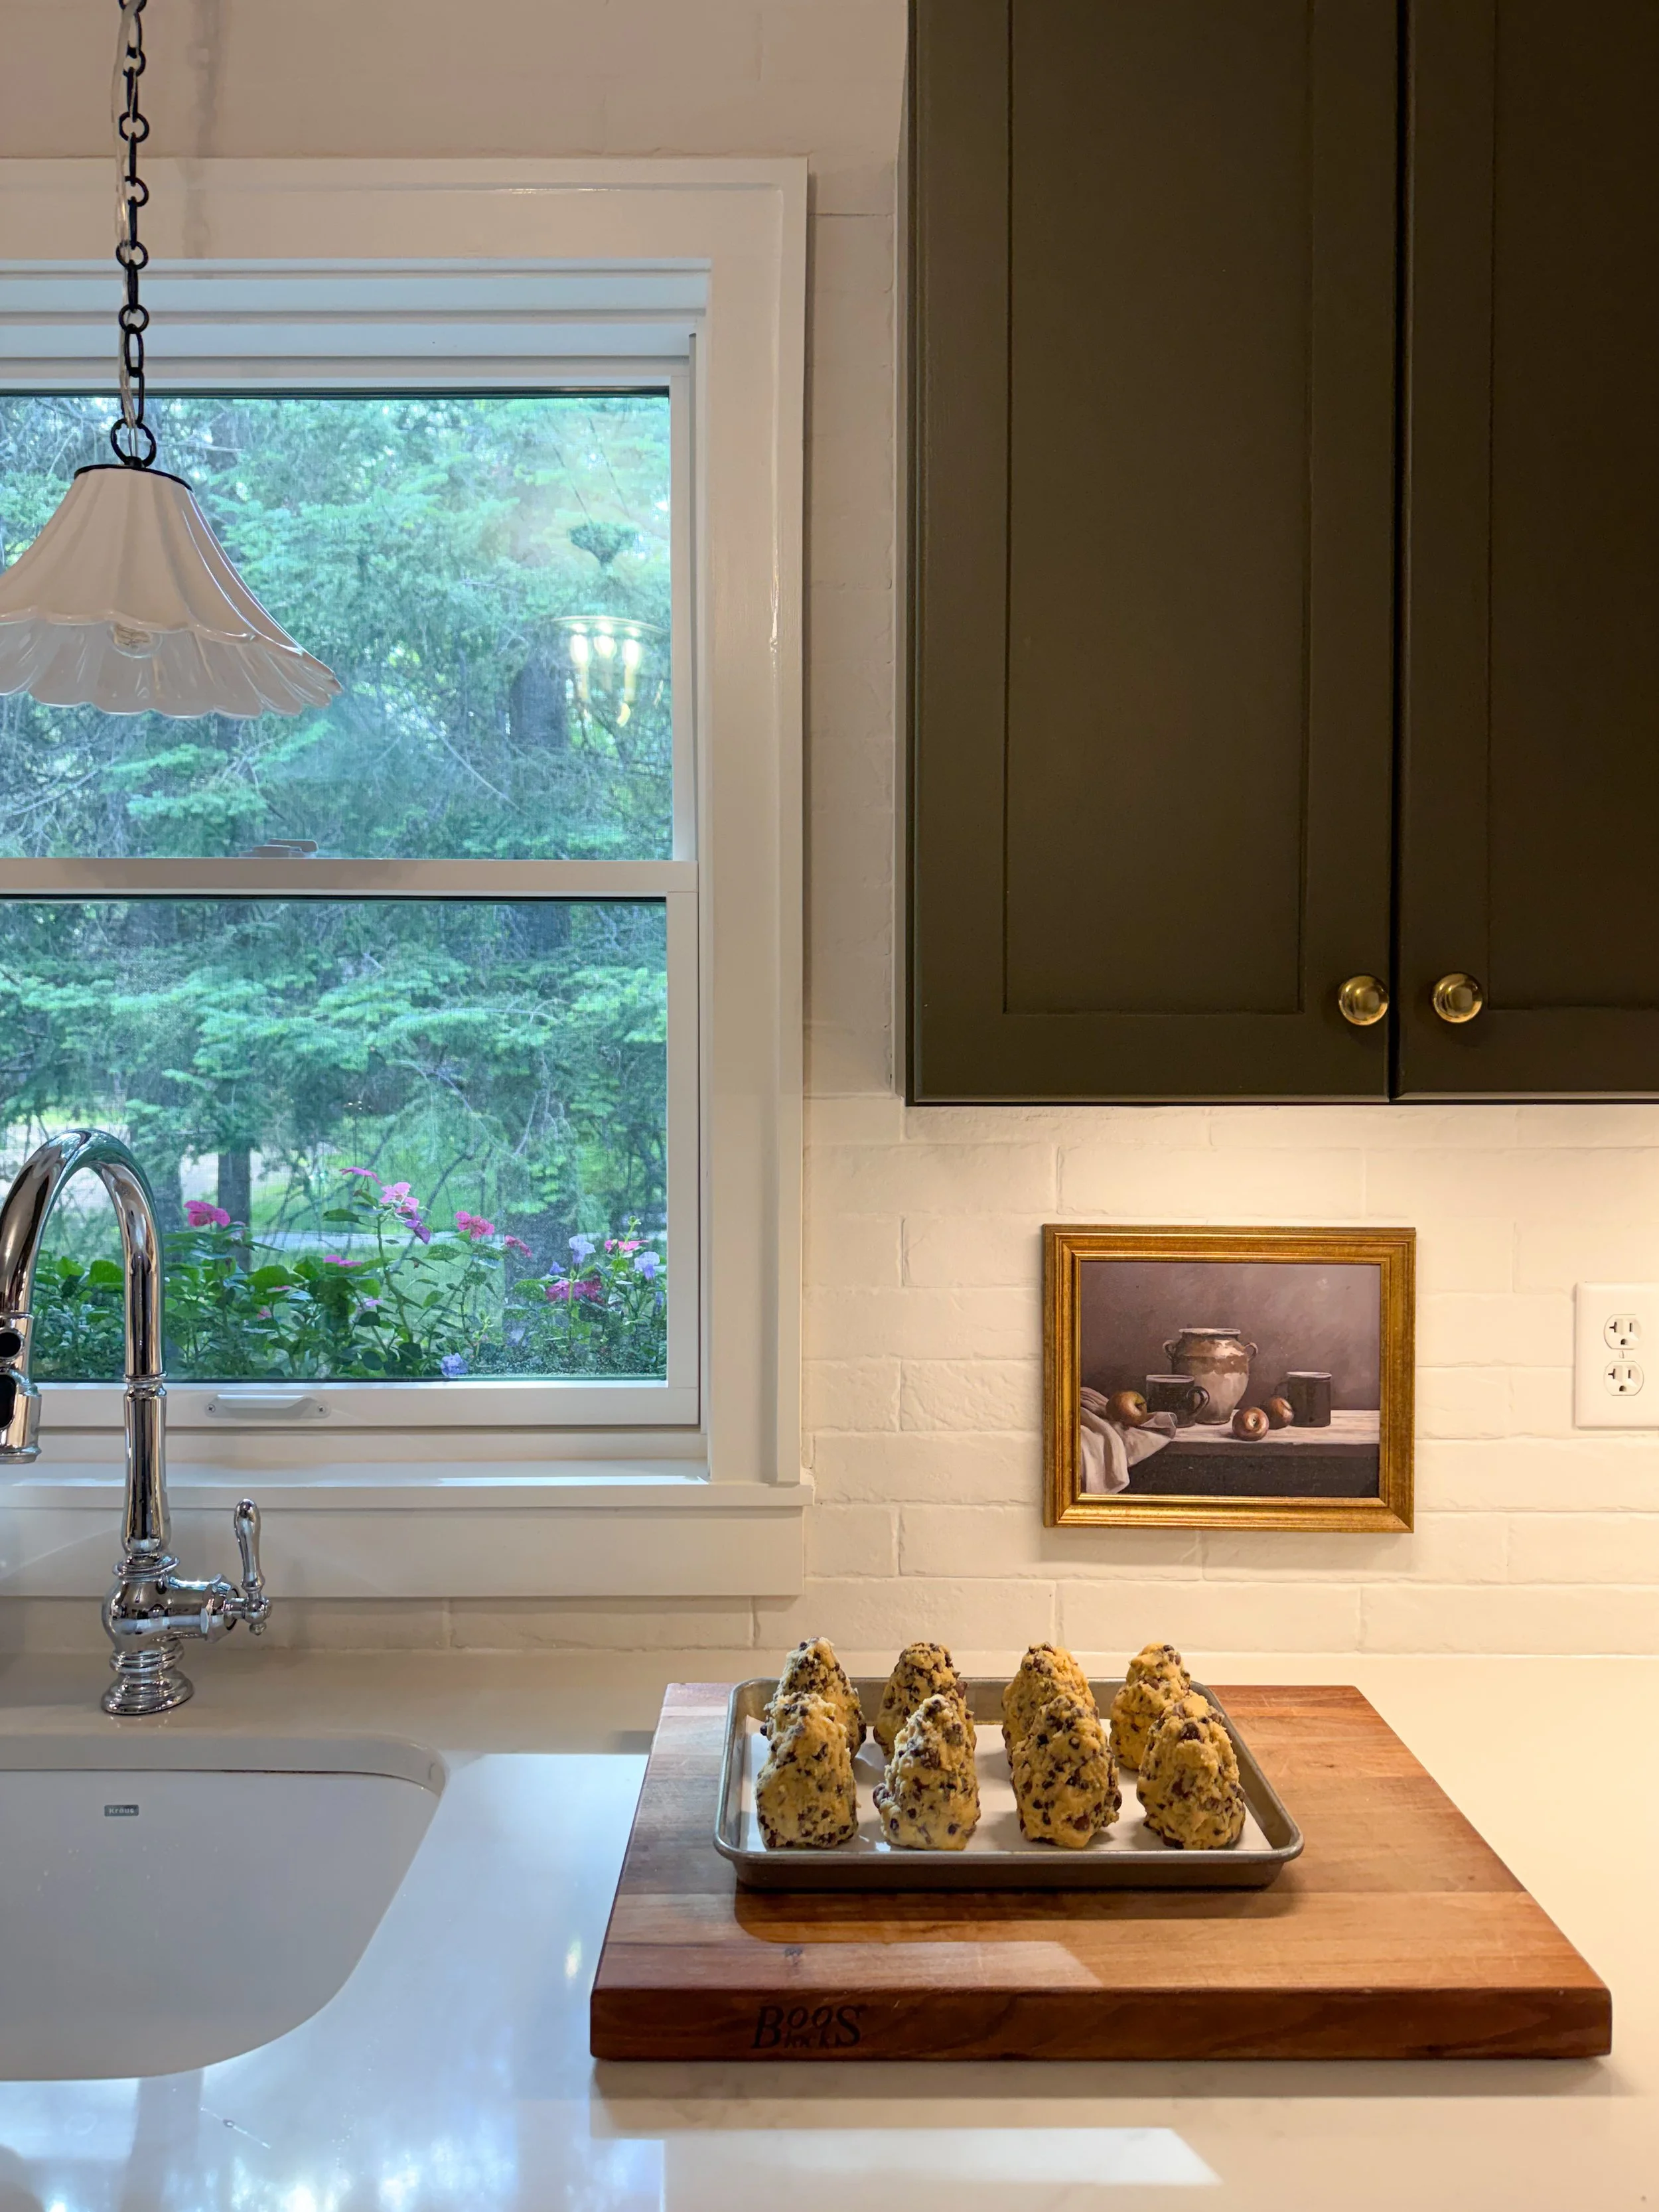
The other technique you’ll want to employ is shaping the cookie dough into tall mounds before you freeze them. Below, I’ve shown how I shape the dough. It looks a little weird, but I promise it will give you a better result than rolling the dough into a round ball.
NORTHWOODS TABLE CHOCOLATE CHIP COOKIE RECIPE
Ingredients
8 ounces (2 sticks) cold unsalted butter, each stick cut into 8 pieces
200 grams (1 cup) light brown sugar
120 grams (2/3 cup) white sugar
1 whole egg
2 egg yolks
2 teaspoons vanilla extract
405 grams (about 3 1/3 cup) all purpose flour
8 grams (2 teaspoons) baking powder
5 grams (1 1/2 teaspoons) Diamond Crystal kosher salt (if using Morton, cut in half)
5 grams (1 teaspoon) baking soda
5 grams (1 1/2 teaspoons) cornstarch
8 ounces (1 1/3 cups) semi-sweet mini chips (I use Toll House)
8 ounces (1 1/3 cups) milk chocolate chips (I use Ghiradelli)
Directions
In the bowl of a stand mixer fitted with the paddle attachment, beat the cold cubed butter and sugars on low for 2 minutes, until the butter is broken down with no visible chunks.
Add the egg, egg yolks, and vanilla. Mix on medium-low for no more than 30 seconds, just until incorporated. Scrape down the bowl as needed.
Whisk the dry ingredients together in a separate bowl, then add to the wet ingredients. Mix on low until just combined — don’t overwork it.
Fold in both chocolate chips, by hand if the mixer isn’t distributing them evenly. Stop as soon as they’re incorporated.
Portion the dough on a scale — this recipe makes about 8½ cookies (I eat the half raw, haha, freeze the other 8). No scale? Eyeball 8–9 even portions. Shape each into a tall dome rather than a round ball, then flatten the bottom slightly so it won’t tip over in the oven. Place on a parchment-lined pan or plate for freezing.
Freeze the portioned dough at least 6 hours before baking — or up to a few months.
When you’re ready to bake, preheat your oven to 350°F or 375°F — see notes below for which.
Bake straight from frozen on parchment-lined half sheet pans (4 cookies per pan max) for 16 minutes, rotating the pans top-to-bottom and front-to-back halfway through, until the tops and bottoms just start to brown. (A full 8-cookie batch can take closer to 20 minutes.) The centers should still look doughy. Cool on the pan for 15 minutes to set up before moving.
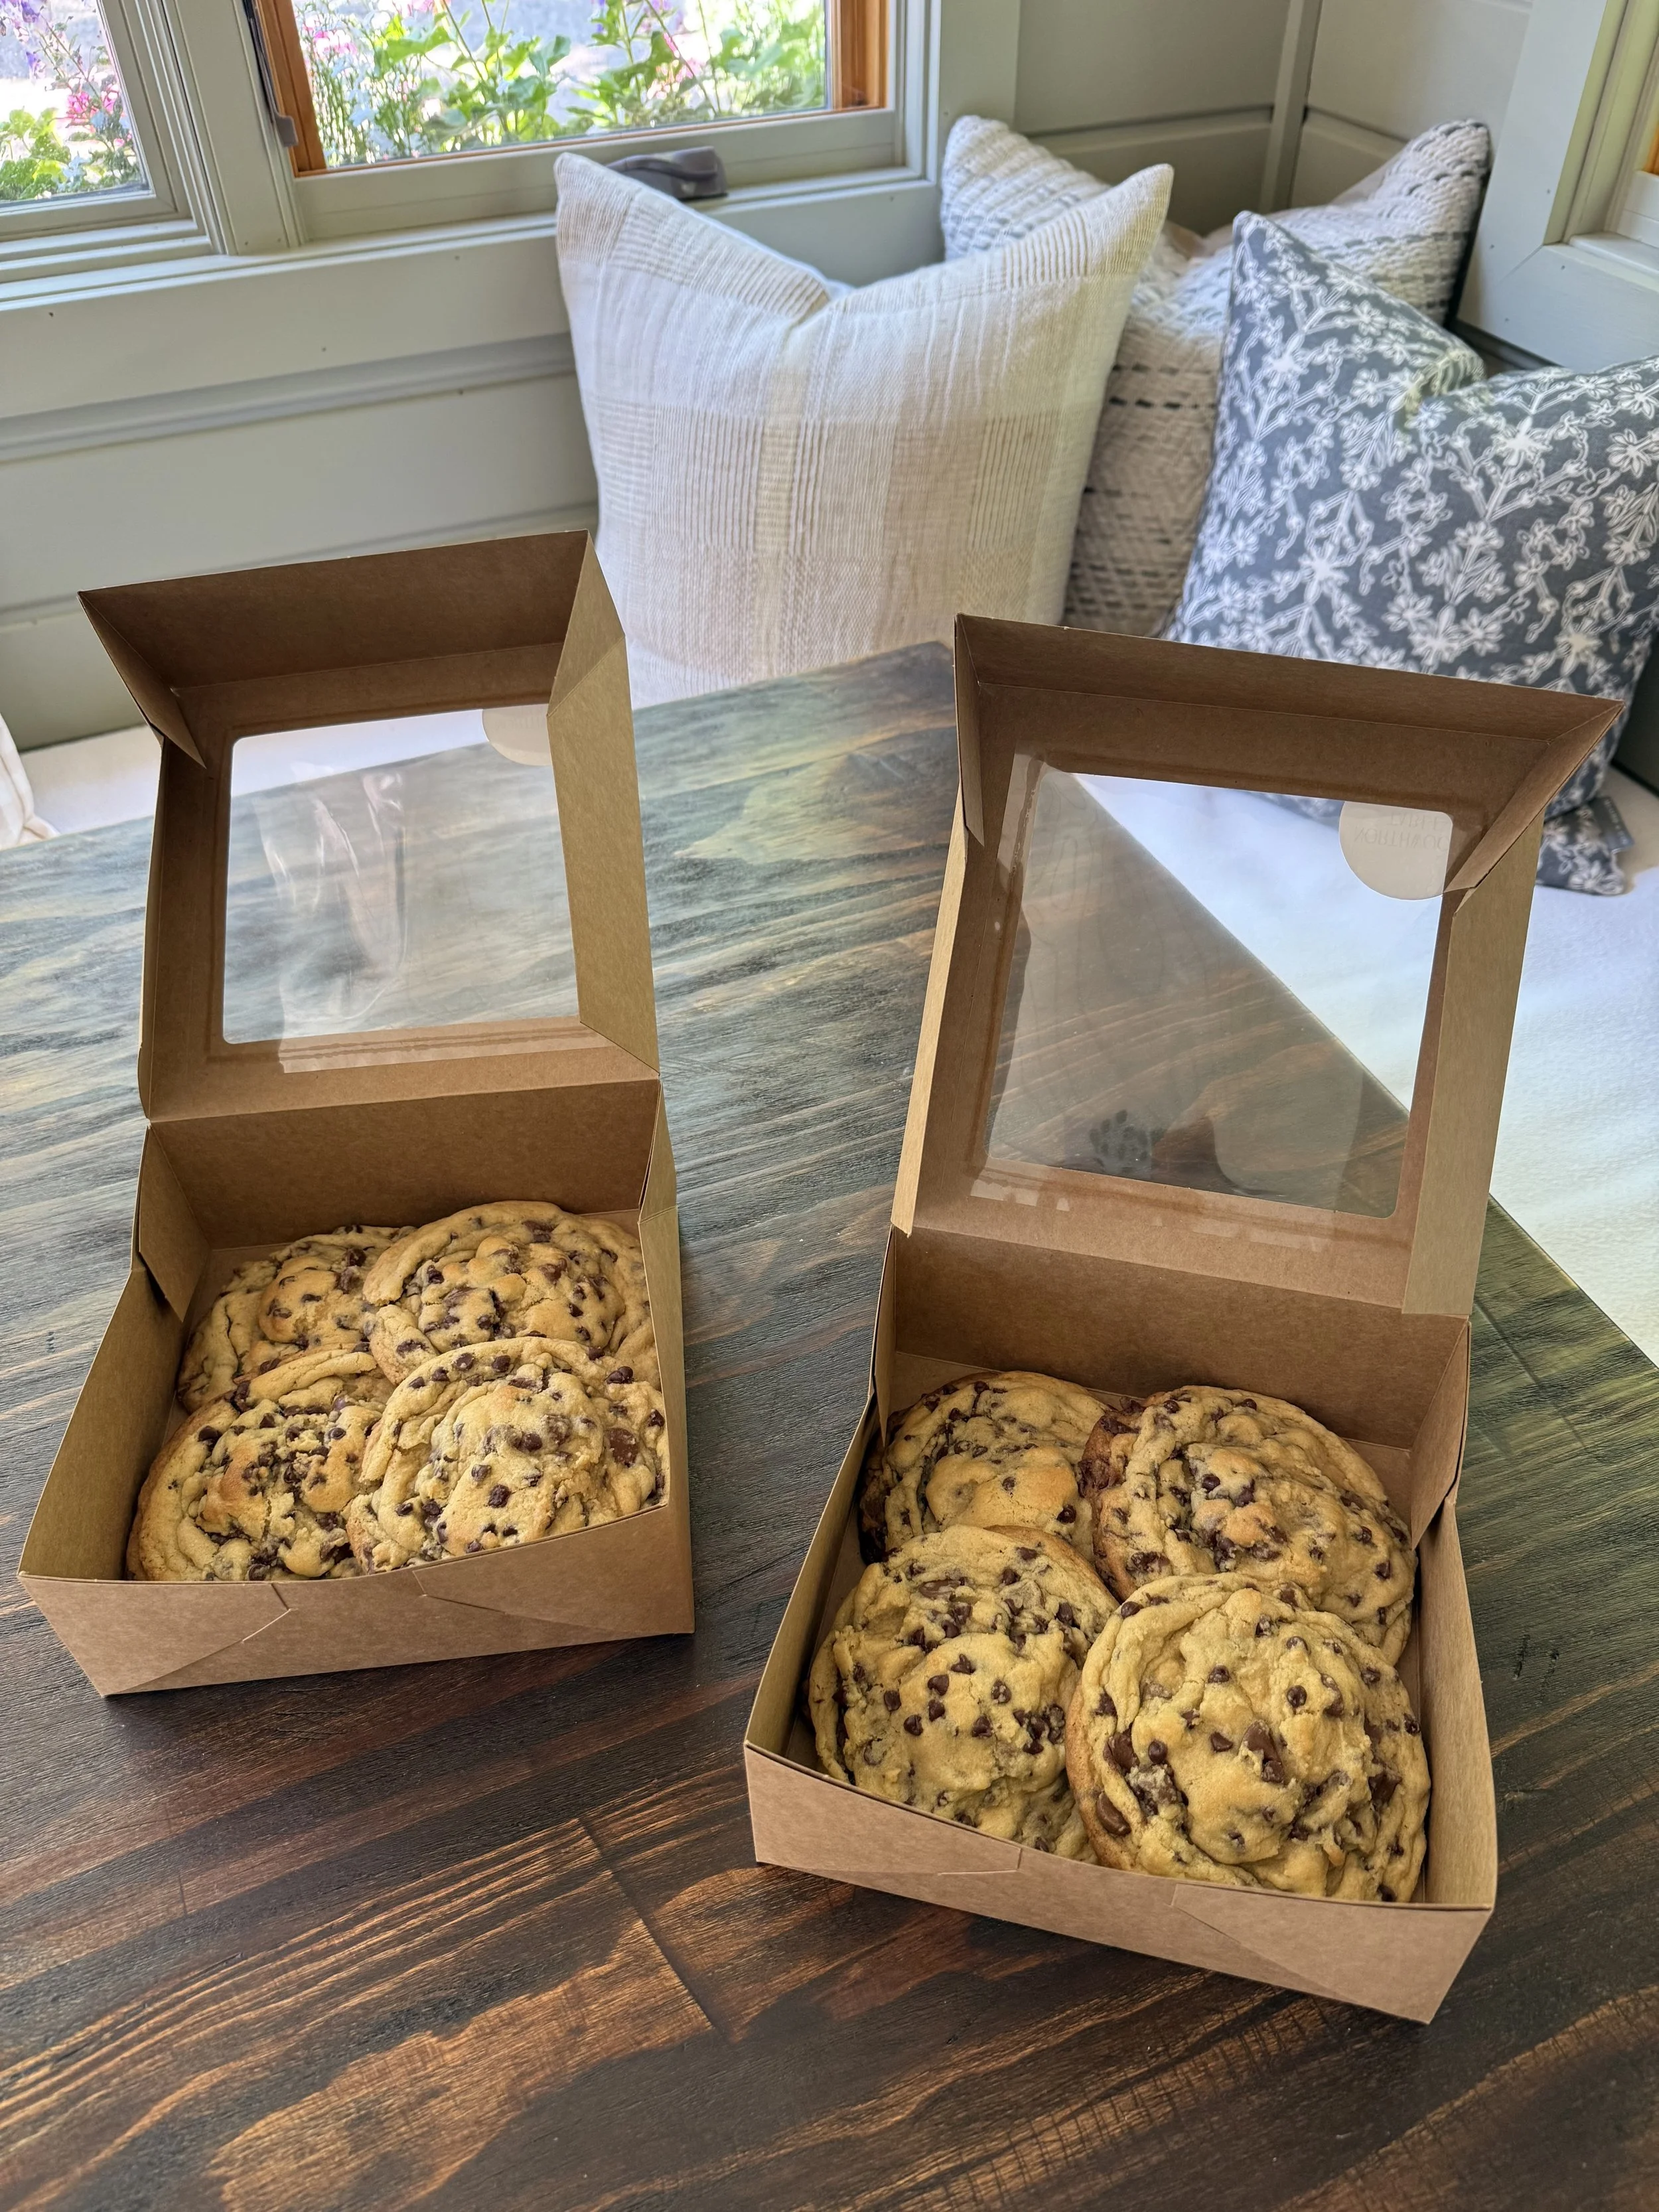
350°F vs. 375°F: Both work, it’s genuinely personal preference. 350°F gives you a less domed cookie. 375°F gives you a taller, more browned dome. The cookie is doughy in the middle either way. If you use 375°F, keep an eye on the cookies so they don’t burn.
350°F cookie:
375°F cookie: